Product Photo Improvements
So I've been squirrelling away in the new year as it's always a quieter time for me. I tend to give the website a little freshen up and I especially wanted to concentrate on my product photos.
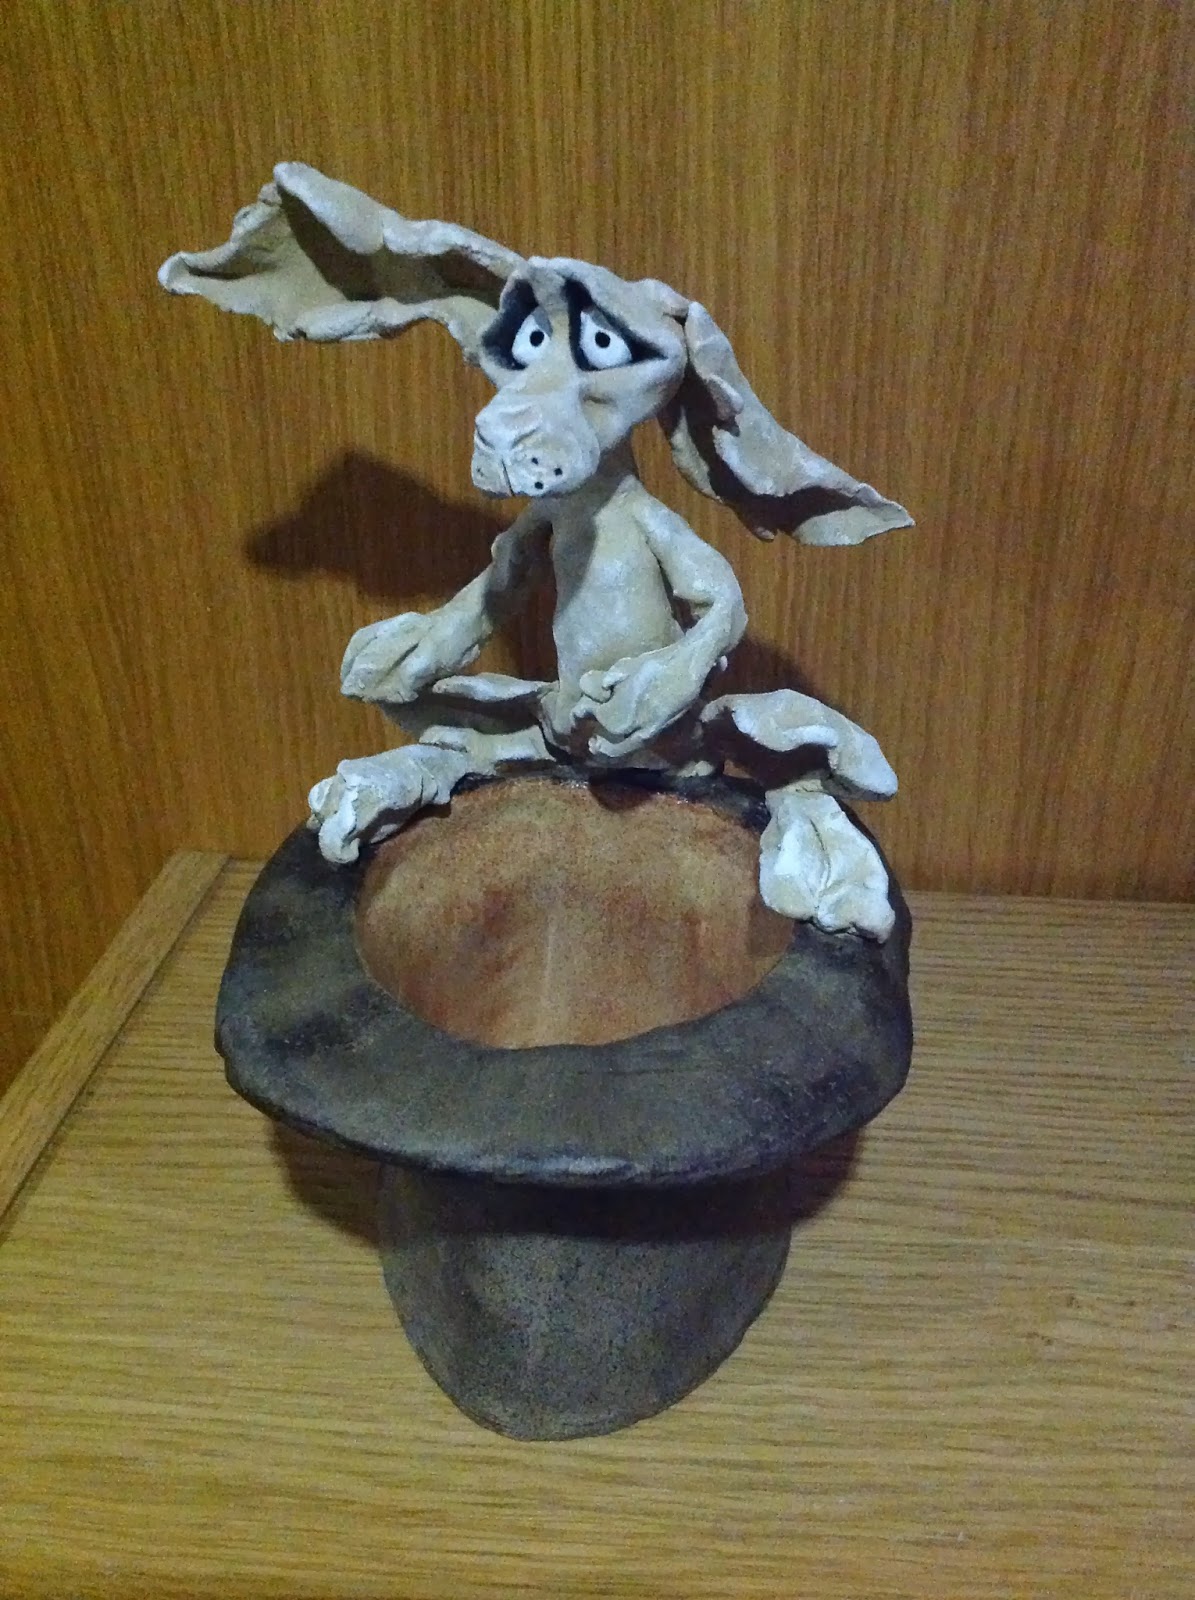
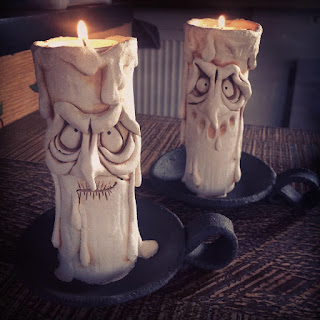
If I look back at my original ones when I first started I tend to cringe! And don't get me wrong, I am nowhere near perfection, but things are looking better. I thought I'd share a few tips that helped me to improve from this:
If I look back at my original ones when I first started I tend to cringe! And don't get me wrong, I am nowhere near perfection, but things are looking better. I thought I'd share a few tips that helped me to improve from this:
Now please don't take anything I say as gospel, these are just my experiences and findings, everyone will find out different ways and what works best for them.
TIP 1 - RESEARCH
Reading, reading, reading - I can't stress enough how important it is to understand what your camera does and what you need it to do. I was in the market for a new camera so I researched the difference between DSLR and digital compact. Photographylife with tips for beginners was an excellent source and a huge learning curve.
From what I learnt the basis for my needs was lighting, exposure ISO and White balance. DSLR are superb cameras but out of my price range, with interchangeable lenses and high quality focusing. I don't need that for my products, I don't have anything moving, elaborate backgrounds or small enough items like jewellery for the needs of intense focus.
So I looked for a basic compact with good megapixel quality ISO and white balance function within my price range. I came up with the Nikon Coolpix S3500. I love it!
This camera does everything I need it to with macro focus for close ups, the white balance has different settings and an 'auto' (wonderful!) Plus the ease of decreasing or increasing the exposure as needed. It has 20 megapixels which is more than enough.
TIP 2 - LIGHTING
Natural Light. This is my biggest bugbear. I need natural light for my photos and this can be hard to come by living on a boat in the UK! I have tried making a lighting tent and using daylight bulbs etc.. but with the room I have it's just not practical to set it all up every time I need a new product photo, (maybe it's just laziness on my part) Still after much trial and error I found the ideal spot and time of the day when I get the best natural light through the windows which is when I aim to take my pics. There's no direct sunlight either so no harsh shadows to worry about. It's not perfect and many say if you have a decent space in the garden then setting up outside is ideal. And of course overcast raining days are a straight no for me, even with the settings on the camera it's worth waiting for a brighter day.
TIP 3 - BACKGROUND
Background. Such a huge issue and until I found my ideal background for sculptures I had no idea what a difference it would make to my products. As first started I liked the idea of sitting my sculptures on a tree stump to give them a rustic look. Then looked at a white background, as a lot recommend this is the way to go. It works for some of my products but seemed to wash out my sculptures (especially as some are white!) So I scrolled through a lot of sculptures on google images looking at the different backgrounds used. As a surprise to me so many people use grey, however it really makes the colours pop! It won't work for signs and plaques but the greyscale is beautiful for my characters. The one I use is a simply photographers gradient background sheet I found on Ebay and with no room or need for a huge backdrop this sheet works perfectly. I'm still experimenting with my other products and haven't settled yet on an idea for those.
So, my set up is basically clearing the TV stand which is under my best light window, at around 1 - 3pm with the gradient background curved from the wall onto the table (held up with masking tape on the wall and a lamp weighing down the front) and then clicking away with my Coolpix. It just shows that with little expense and bit of patience and research you don't need a huge studio or a great deal of of money to improve your photos!


Comments
Post a Comment